Mounts and Brackets (2)
| Image | Name | SKU | Price |
|---|---|---|---|
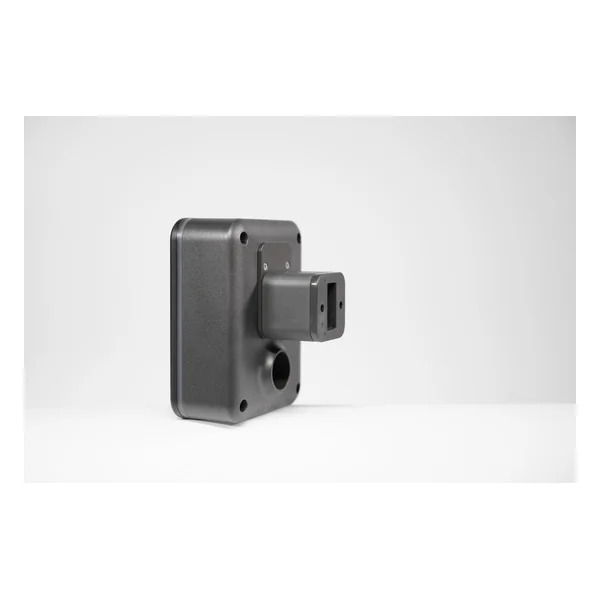
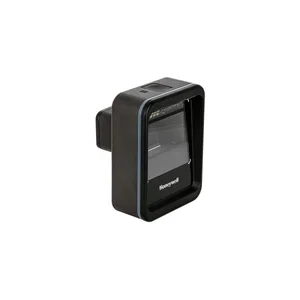 | GENESIS XP 7680G, FIXED WALL MOUNT, BLACK | STND-07R07-016-01 | $60.00 |
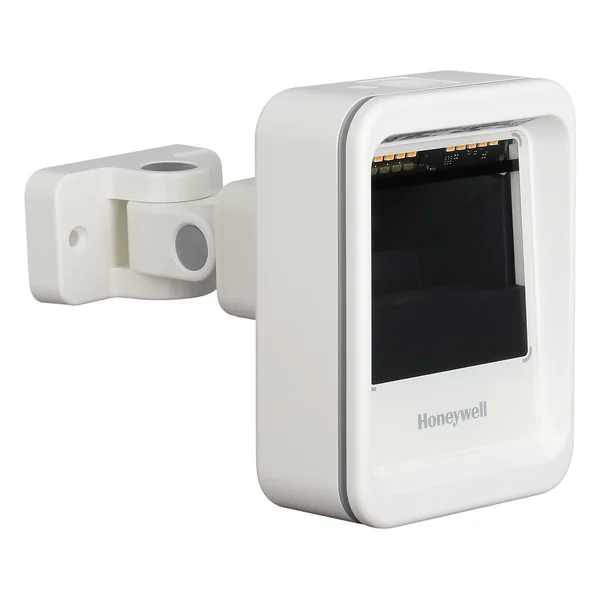
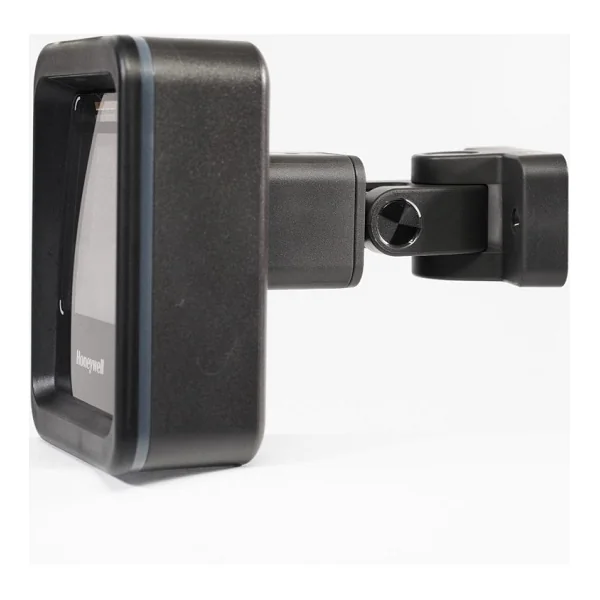
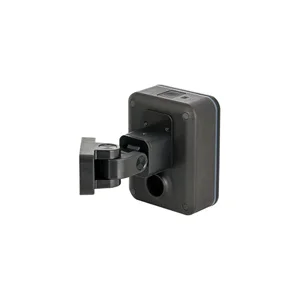 | GENESIS XP 7680G, FLEXIBLE POS WALL MOUNT, BLACK | STND-02F07-016-01 | $91.00 |
Serial/RS232 Cables (2)
| Image | Name | SKU | Price |
|---|---|---|---|
| Cable: RS232 (+5V signals) DB9 Female, Host 5V Power With Option For External 5V Power, 300cm length, Coiled, No EAS, black, without ferrite, General, Compatible with RJ45 5V Scanner Products | CBL-020-300-C00 | Original price was: $38.00.$21.00Current price is: $21.00. | |
| Cable: RS232 (+5V signals) DB9 Femaie, Host 5V Power With Option For External 5V Power, 300cm length, Straight, No EAS, black, without ferrite, General, Short Strain Relief, For 7680g only | CBL-020-300-S00-09 | $41.00 |
Stands (3)
| Image | Name | SKU | Price |
|---|---|---|---|
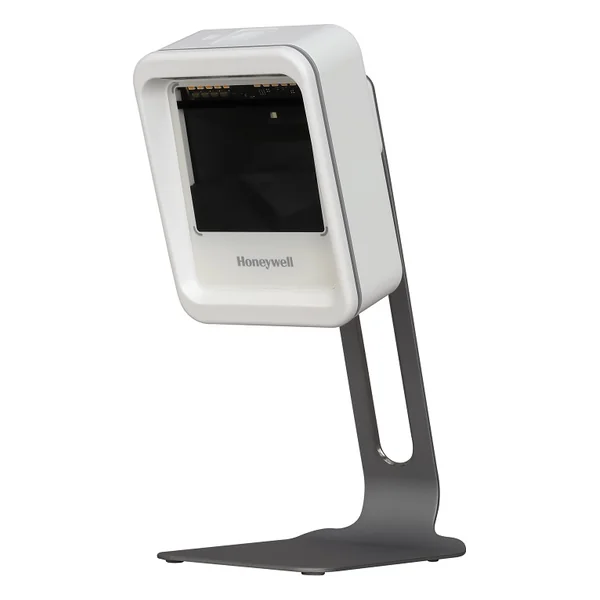
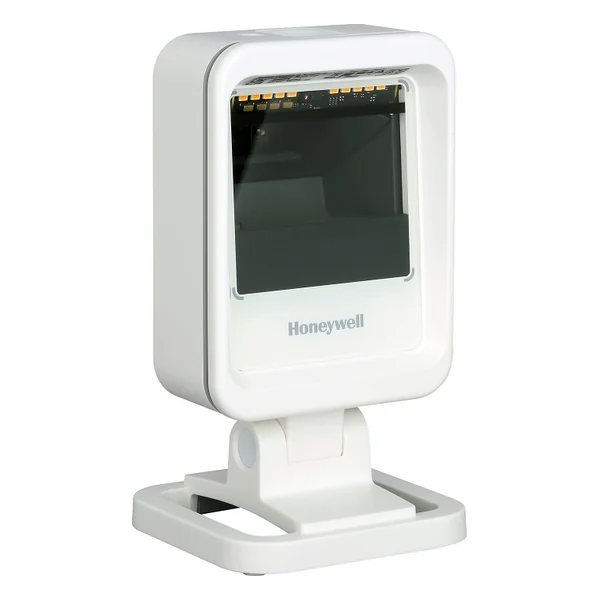
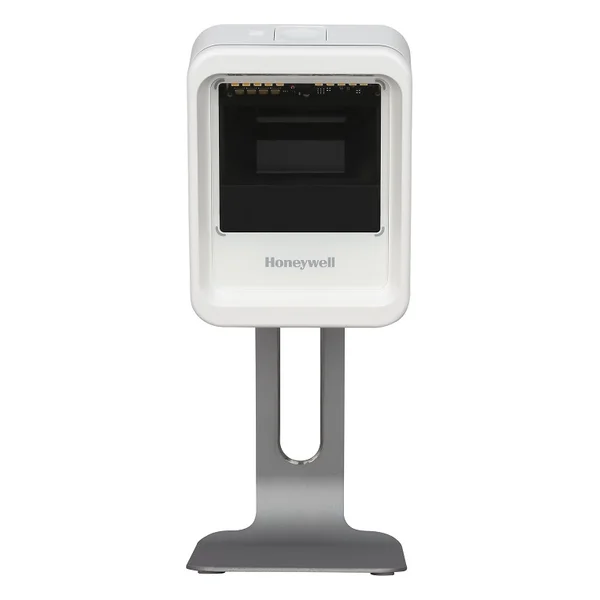
| Genesis XP Stand Assembly, White | STND-04R06-016-11 | $37.00 | |
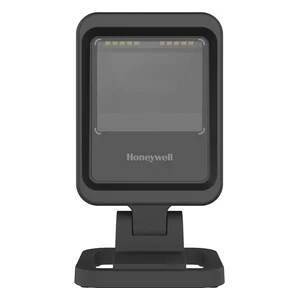
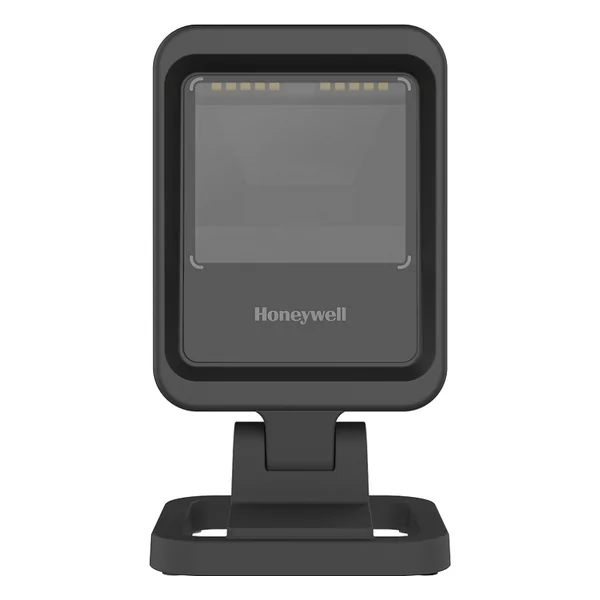
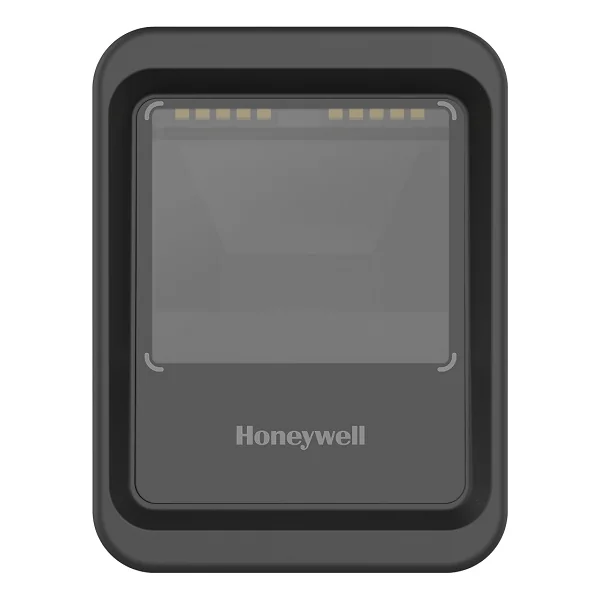
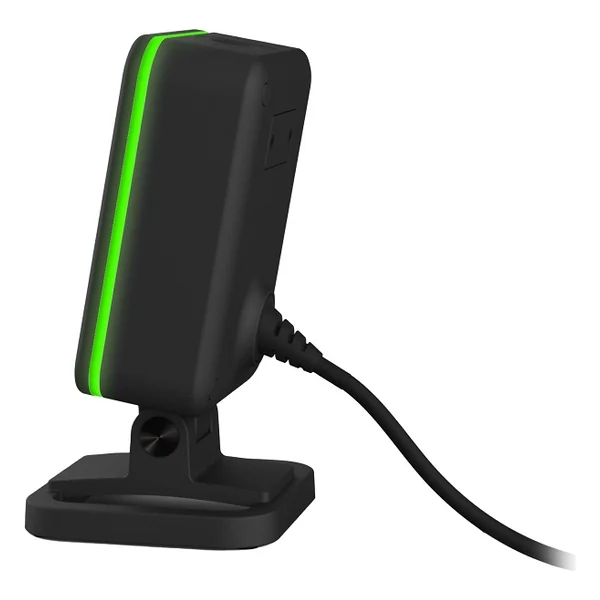
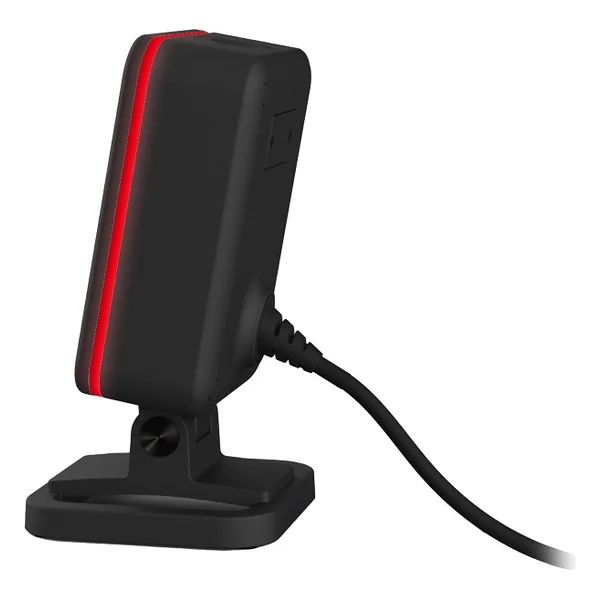
| GENESIS XP 7680G STAND ASSEMBLY, BLACK | STND-04R06-016-21 | $42.00 | |
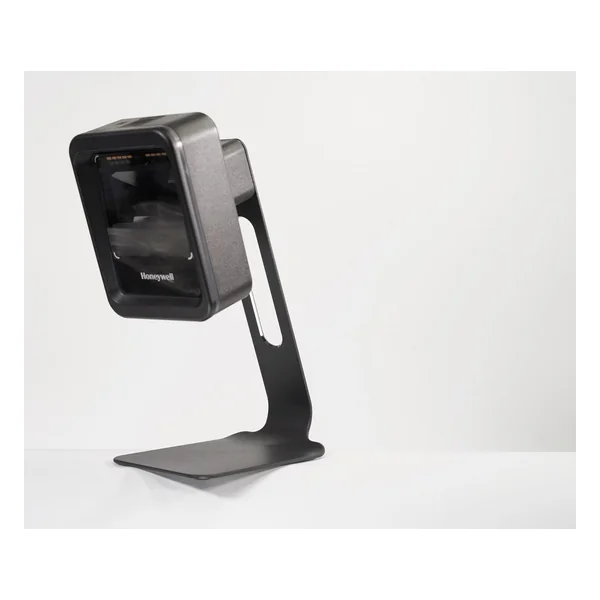
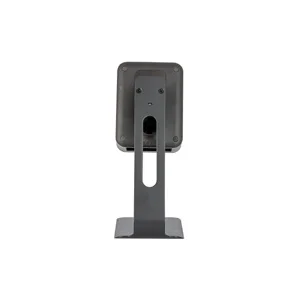 | GENESIS XP 7680G, COUNTER TOP STAND, BLACK | STND-18R06-016-01 | $95.00 |
USB Cables (3)
| Image | Name | SKU | Price |
|---|---|---|---|
| Cable: USB Type A, Host 5V Power Only, 300cm length, Straight, No EAS, black, without ferrite, General, Compatible with RJ45 5V Scanner Products | CBL-500-300-S00 | Original price was: $37.00.$21.00Current price is: $21.00. | |
| Cable: USB Type A, Host 5V Power Only, 300cm length, Straight, No EAS, black, without ferrite, General, Short Strain Relief, Compatible with RJ45 5V Scanner Products | CBL-500-300-S00-09 | $41.00 | |
| Cable: USB 12V Locking, Host 5V Power Only, 300cm length, Straight, No EAS, black, without ferrite, General, Compatible with RJ45 5V Scanner Products | CBL-503-300-S00 | Original price was: $79.00.$44.00Current price is: $44.00. |